

How to attach clear pvc film to a wooden surface?
Jan 15, 2026
Hey there! As a clear PVC film supplier, I often get asked about how to attach clear PVC film to a wooden surface. It's a common project, whether you're looking to protect a wooden tabletop, add a decorative touch to a wooden cabinet, or something else entirely. In this blog post, I'll walk you through the process step by step, sharing some tips and tricks along the way.
What You'll Need
First things first, let's talk about the materials and tools you'll need for this project. Here's a quick list:
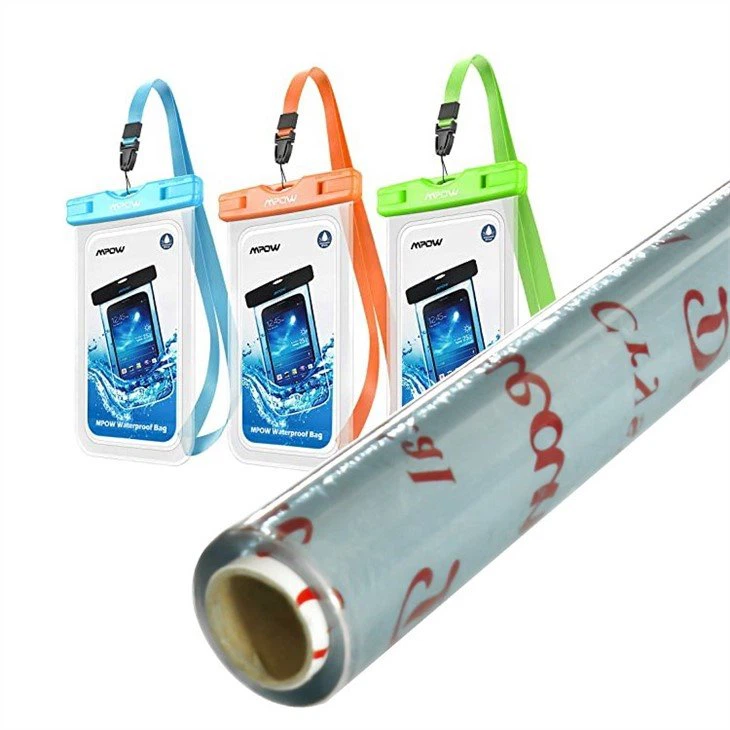
- Clear PVC Film: You can find a great selection of Super Clear Plastic PVC Film on our website. It comes in various thicknesses and sizes to suit your needs.
- Wooden Surface: Make sure the wooden surface is clean, dry, and smooth. Sand it lightly if necessary to remove any rough spots or splinters.
- Adhesive: There are several types of adhesives you can use, such as contact cement, double-sided tape, or spray adhesive. Choose the one that's best for your project and follow the manufacturer's instructions.
- Tools: You'll need a few basic tools, including a utility knife, a straightedge, a roller, and a clean cloth.
Step 1: Prepare the Wooden Surface
Before you start attaching the PVC film, you need to prepare the wooden surface. Here's how:

- Clean the Surface: Use a clean cloth and a mild detergent to clean the wooden surface. Make sure to remove any dirt, dust, or grease. Rinse the surface with water and dry it thoroughly.
- Sand the Surface: If the wooden surface is rough or uneven, sand it lightly with fine-grit sandpaper. This will help the adhesive stick better and ensure a smooth finish.
- Measure and Cut the PVC Film: Measure the wooden surface carefully and cut the PVC film to size. Leave a little extra film around the edges to allow for trimming later.
Step 2: Apply the Adhesive
Once the wooden surface is prepared, it's time to apply the adhesive. Here's how:
- Contact Cement: If you're using contact cement, apply a thin layer of adhesive to both the wooden surface and the back of the PVC film. Let the adhesive dry for a few minutes until it becomes tacky. Then, carefully align the PVC film with the wooden surface and press it down firmly. Use a roller to smooth out any bubbles or wrinkles.
- Double-Sided Tape: If you're using double-sided tape, remove the backing from one side of the tape and apply it to the wooden surface. Then, remove the backing from the other side of the tape and carefully align the PVC film with the wooden surface. Press the film down firmly and use a roller to smooth out any bubbles or wrinkles.
- Spray Adhesive: If you're using spray adhesive, apply a thin, even layer of adhesive to the wooden surface. Hold the can about 6-8 inches away from the surface and spray in a sweeping motion. Let the adhesive dry for a few minutes until it becomes tacky. Then, carefully align the PVC film with the wooden surface and press it down firmly. Use a roller to smooth out any bubbles or wrinkles.
Step 3: Trim the Excess Film
After the PVC film is attached to the wooden surface, you'll need to trim the excess film. Here's how:
- Use a Utility Knife: Use a sharp utility knife and a straightedge to trim the excess film around the edges of the wooden surface. Make sure to cut along the edge of the surface to get a clean, straight cut.
- Be Careful: When trimming the excess film, be careful not to cut into the wooden surface. Use a light touch and make small, precise cuts.
Step 4: Finish the Edges
Once the excess film is trimmed, you can finish the edges of the PVC film to give it a professional look. Here are a few options:
- Heat Seal the Edges: If you have a heat sealer, you can use it to seal the edges of the PVC film. This will prevent the film from peeling or fraying.
- Use Edge Banding: You can also use edge banding to cover the edges of the PVC film. Edge banding comes in various colors and materials, so you can choose the one that matches your project.
- Leave the Edges as Is: If you're happy with the way the edges look, you can leave them as is. Just make sure to smooth out any rough edges with a sandpaper or a file.
Tips and Tricks
Here are a few tips and tricks to help you attach clear PVC film to a wooden surface successfully:
- Work in a Clean, Dry Environment: Make sure the work area is clean and dry to prevent dust and dirt from getting trapped between the PVC film and the wooden surface.
- Use a Roller: A roller is a great tool for smoothing out bubbles and wrinkles in the PVC film. Use it to apply even pressure and ensure a smooth, professional finish.
- Take Your Time: Attaching clear PVC film to a wooden surface takes time and patience. Don't rush the process and make sure to follow the steps carefully.
- Test the Adhesive: Before you apply the adhesive to the entire wooden surface, test it on a small, inconspicuous area first. This will help you make sure the adhesive is compatible with the PVC film and the wooden surface.
Conclusion
Attaching clear PVC film to a wooden surface is a relatively simple process that can add a lot of value to your project. By following the steps outlined in this blog post and using the right materials and tools, you can achieve a professional-looking finish that will last for years.
If you're interested in purchasing clear PVC film for your project, we offer a wide range of Super Clear Plastic PVC Film, Super Clear PVC Film for Plastic Product, and Super Clear Cosmetic Bag Film. Contact us today to discuss your specific requirements and get a quote. We're here to help you find the perfect PVC film for your project!
References
- General knowledge about PVC film application on wooden surfaces.
- Manufacturer's instructions for adhesives and PVC films.